Forgot to get solar eclipse glasses? Here's how to DIY a viewer with household items.
By now, everyone has heard that the rare 2024 total solar eclipse is coming – and it's got people excited.
While cities brace for traffic, schools brace for absences and space enthusiasts are planning parties, the glasses that enable safe viewing of the eclipse have become something of a hot commodity.
Peeking directly at the eclipse before it reaches totality without proper eye protection can cause permanent eye damage, experts have warned, making glasses a necessity for safe viewing. But, as the day approaches, they may become harder to find.
Luckily, people who didn't manage to get their hands on glasses are not completely down and out. There are other safe ways to view the eclipse, say experts, and a lot of them only require a little bit of craftiness and items you can find lying around the house.
Here are a few DIY eclipse viewers you can make at home.
As a reminder, none of these options allow you to look directly at the eclipse: you need special eclipse glasses for that.
Solar eclipse guide: When is the 2024 total solar eclipse? Your guide to glasses, forecast, where to watch.
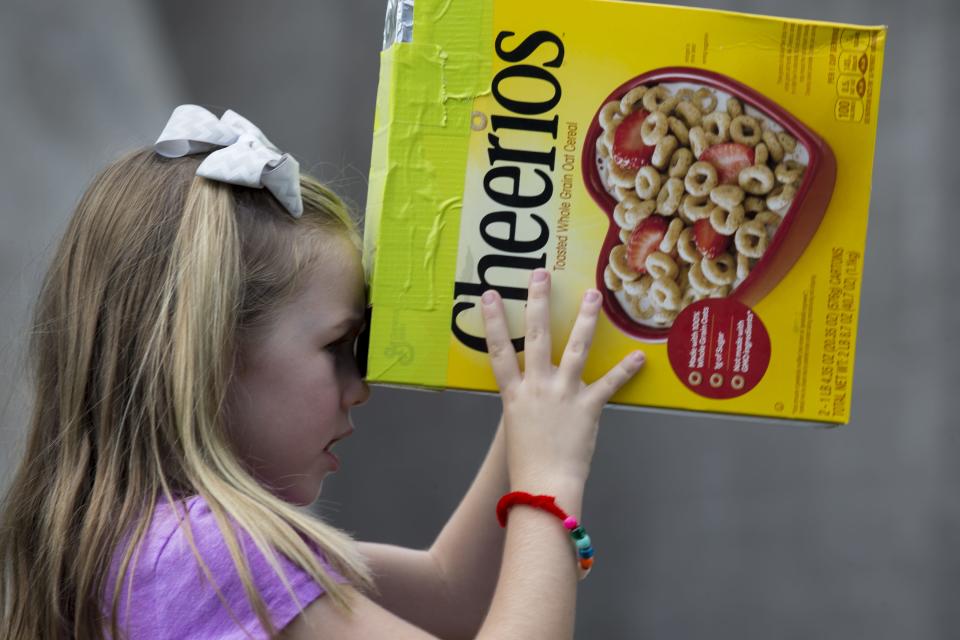
NASA's DIY cereal box viewer
This NASA project uses components you almost certainly already have at home. Using a cereal box, cardboard, foil, paper, scissors and tape or glue, you can put together this projection eclipse viewer.
As always, NASA advises not to look directly into the sun using this tool.

Steps to make the cereal box eclipse viewer:
Get an empty, clean cereal box.
Cut a white piece of cardboard that will fit snuggly in the bottom of the box, or secure it permanently by gluing it in place.
Cut the top of the cereal box, removing both ends and leaving the center intact.
Put a piece of tape across the center of the top to securely hold it closed.
Tape a piece of heavy-duty foil or double a single layer for additional strength, covering one of the openings at the top of the cereal box. The other opening will remain open for viewing.
Using a small nail (approximately 3mm in diameter) push a hole in the foil.
Cover the entire box with construction paper, leaving the single-viewing opening and the foil uncovered.
How to use the DIY viewer:
The finished box should be held with the pin-hole side facing the sun. It may take a little practice pointing the box.
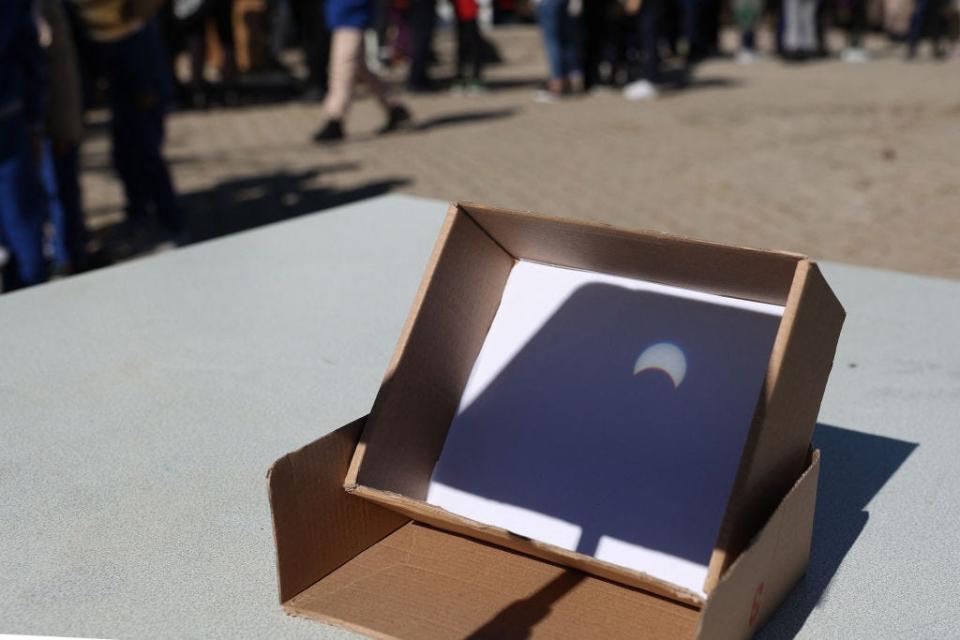
With your back facing the sun, look through the viewing opening. A small image of the sun, about ½ cm in diameter can be seen projected on the white paper inside the box.
Watch the demo here:
The Planetary Society DIY paper viewer
While the Planetary Society also offers instructions for box or projector viewers that are more "fancy," as they put it, it doesn't get easier than their simple pinhole paper projector.
To make it, you only need two index cards (3-by-5 or A6 or A7 size) or small paper plates for each person and basic pushpins. Simply use the pushpin to punch a small hole close to the middle of one of the cards and you're done.
Another super easy version that requires no crafting? A kitchen colander. An ordinary kitchen colander can easily be used to view a solar eclipse in the same way as other projector viewers; the colander's circular holes project crescent images of the sun onto the ground.
To make the "fancier" version, you'll need 2 index cards (larger, 5-by-7 or A5 cards work better for this) or small paper plates for each person, a pencil, pushpins and a towel, sweatshirt, blanket, flattened corrugated cardboard box, carpet, or other soft substrate to place underneath card during pin pushing.
To make the fancier version:
Draw a simple design on a card. The lines should not be too close together
Place the card on top of something soft (blanket, towel, etc)
Using the push pin, make small holes along your design lines. Not too close together – about 5 millimeters (1/4 inch) apart.

To use it, you'll again want to avoid looking directly at the sun:
Go to your eclipse observing spot and make sure you can see the shadow of your head and shoulders clearly.
Hold up the card with the hole on top of your shoulder so that you can see the shadow of the card above the shadow of your shoulder.
Now hold up the other card and make sure you can see its shadow, too.
Move the second card and watch how its shadow moves. Keeping the card in front of you, move its shadow until the second card's shadow overlaps the first card's shadow.
Now look at the second card. You should see a dot on the card for every hole you punched. Those dots are actually images of the sun.
Watch the demo here:
Cardboard or paper tube eclipse viewer
Sticking with the theme of using items you can easily find around the house, tube viewers can be made using cardboard tubes from household items like paper towels or toilet paper rolls. You can also use thick cardstock rolled up and taped to make your own tube.

To make one, you'll need a cardboard tube, white paper, aluminum foil, tape and a pushpin or something else sharp to poke a small hole. According to "Let's Talk Science," you can put this viewer together with these steps:
Trace the opening of the tube on a piece of white paper. Draw a slightly bigger circle around it. Cut around the bigger circle. Cut small slits to the inner circle.
Cut an opening near one end of the tube to make a viewing window.
Tape the paper circle to the end of the tube near the viewing window.
Cut a piece of aluminum foil that is a bit larger than the opening of the tube.
Poke a small hole in the center of the aluminum foil.
Tape the aluminum foil over the other opening of the tube.
How to use the viewer:
With your back to the sun, hold the tube parallel to the path of the sun. Look through the viewing hole. Move the viewer until a small white circle appears on the paper.
See an example below:
This article originally appeared on USA TODAY: How to make your own DIY solar eclipse viewer

 Yahoo Sports